Hello and welcome to the family tree!
If you want to skip straight to the tree itself and avoid the how
to/explanation below then...

Otherwise, read on...
About the tree:
For those who don't know me, my name is David Bell and I started
putting this tree together around about 2010, although it hasn't
been updated in quite some time. As of this writing, it has nearly
500 people on it, some people have detailed and accurate information
based on documents (birth certificates etc) or based on direct
knowledge. Other people and connections have been added based on
half recalled memories and stories that have passed down, so I can't
vouch for the accuracy!
Once you get to a tree of this size, it's quite difficult to just
display the whole thing and display all of the connections, so it
might not look quite as you expect it to, but all of the information
is in there and can be viewed once you get the hang of it.
The first thing you'll need to do is register - this lets me know
who you are and lets me see the changes/additions you're making to
the tree.
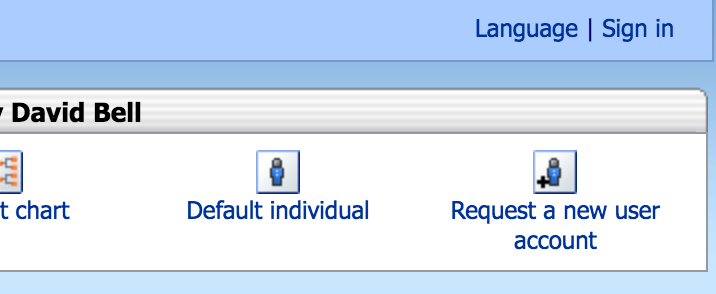
To register, you'll want to click the "Request a new user account"
link in the top right of the screen:
Fill in all the details on the form that appears and in the Comment
box at the bottom, explain who you are and where on the tree you
think you appear - this lets me tie your account to you on the tree
and makes it easier for you to find/edit things about people you are
related to.
Once you register, you'll receive an email to confirm your email
address, but you'll also have to wait for me to approve your
account, which I'll do ASAP, but it may take me a day or so if I'm
working at the time you try to register. Apologies if there is a
delay, but since you're free to add all kinds of personal
information to the tree, I'd prefer to keep it locked up tight to
stop prying eyes from seeing things they shouldn't.
Once you're approved and you login to the tree, you'll be presented
with a screen with lots of information, possibly about people you've
never heard of, so the best place to get started is with the "My
Individual Record" and "My Pedigree" buttons on the top right.

If I've set it up properly, you should see details relating to you
and your immediate family. You can click on any names to jump to
their profile and see their records.
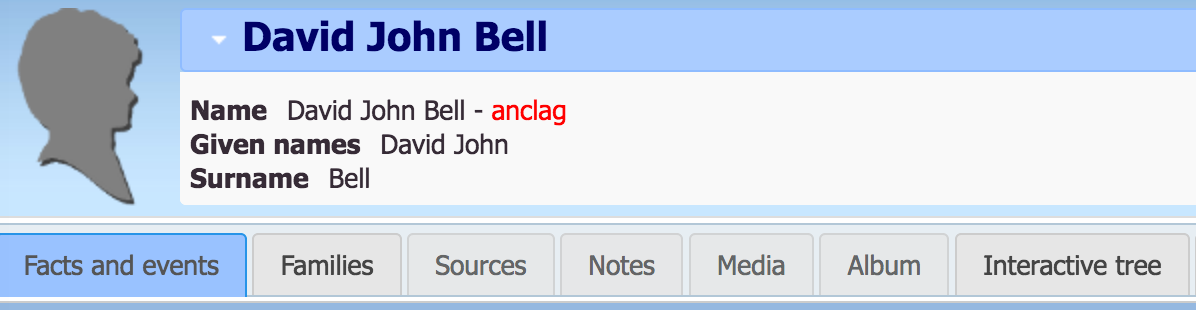
If you're viewing your, or any other record and you want to make
changes, there are two screens you're most interested in: The Facts
and Events tab and the Families Tab. You can see them and how they
appear on my record below.
Facts and events allows you to add dates of birth and death, while
also allowing you to add any number of facts, such as address,
education records, graduation dates, occupation and so on. It does
*not* allow you to add a marriage, to do that, see the Families tab
below, but once the marriage has been created (or if it already
exists on the tree), you will be able to edit the details of the
marriage, adding details such as date, place of marriage etc
The Families tab is where you go when you want to add a new person
to the tree. This could either be through marriage or to add a child
to a family.
If you click it on an individual and scroll to the bottom, you'll
see options to "Add a wife" or "Add a husband". This allows
you to create a new person *and* create a marriage link between them
both.
If the individual you're viewing already has a relationship, you
will also see, further up the page, the option to "Add a son or
daughter" or the option to "Add a brother or sister", again this
allows you to add people to the tree and immediately put them into
the correct family.
Hopefully that's enough of a primer to get everyone started on
viewing and editing the tree. I'm still learning how this particular
software works as well, so I'll update the guide as I go.
For a more detailed user guide on how to work with the tree, visit the
documentation here
Guide to adding photographs
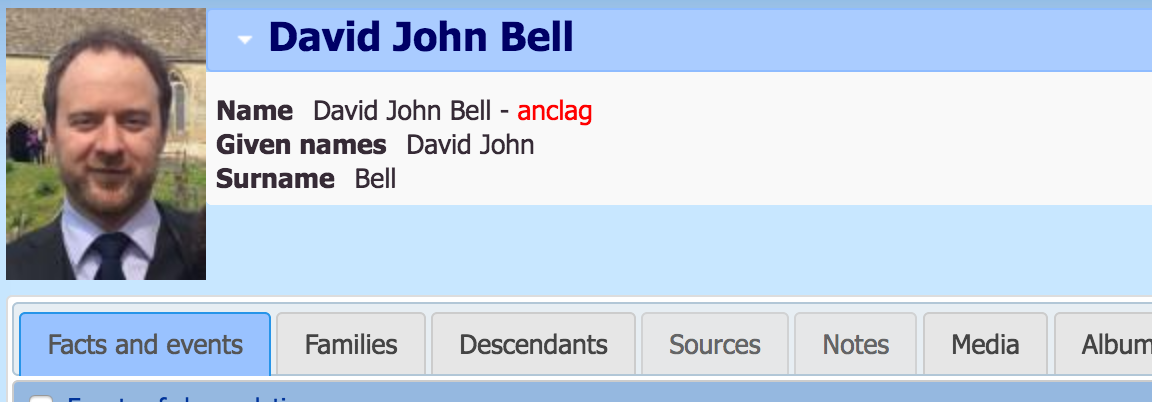
As you can see in the picture below, the family tree software
supports pictures as well. I have added two of myself, but chosen a
recent one as a profile picture.
I think it'd be a good thing to add to the tree where we can,
whether it's old or new photos. I think we should try and limit the
number we add per person, so that the tree doesn't get too big and
bulky, but we can add major life stages. As you'll see, I've added a
current photo of me and a much younger one. I think it'd also be
nice to add photos of major life events, so marriages, christenings,
graduations etc, plus any large group photos of multiple people on
the tree.
To add photos, you'll need to go to the profile of the person that
you're adding a photo of, and go to the Media tab, as you can see
below.
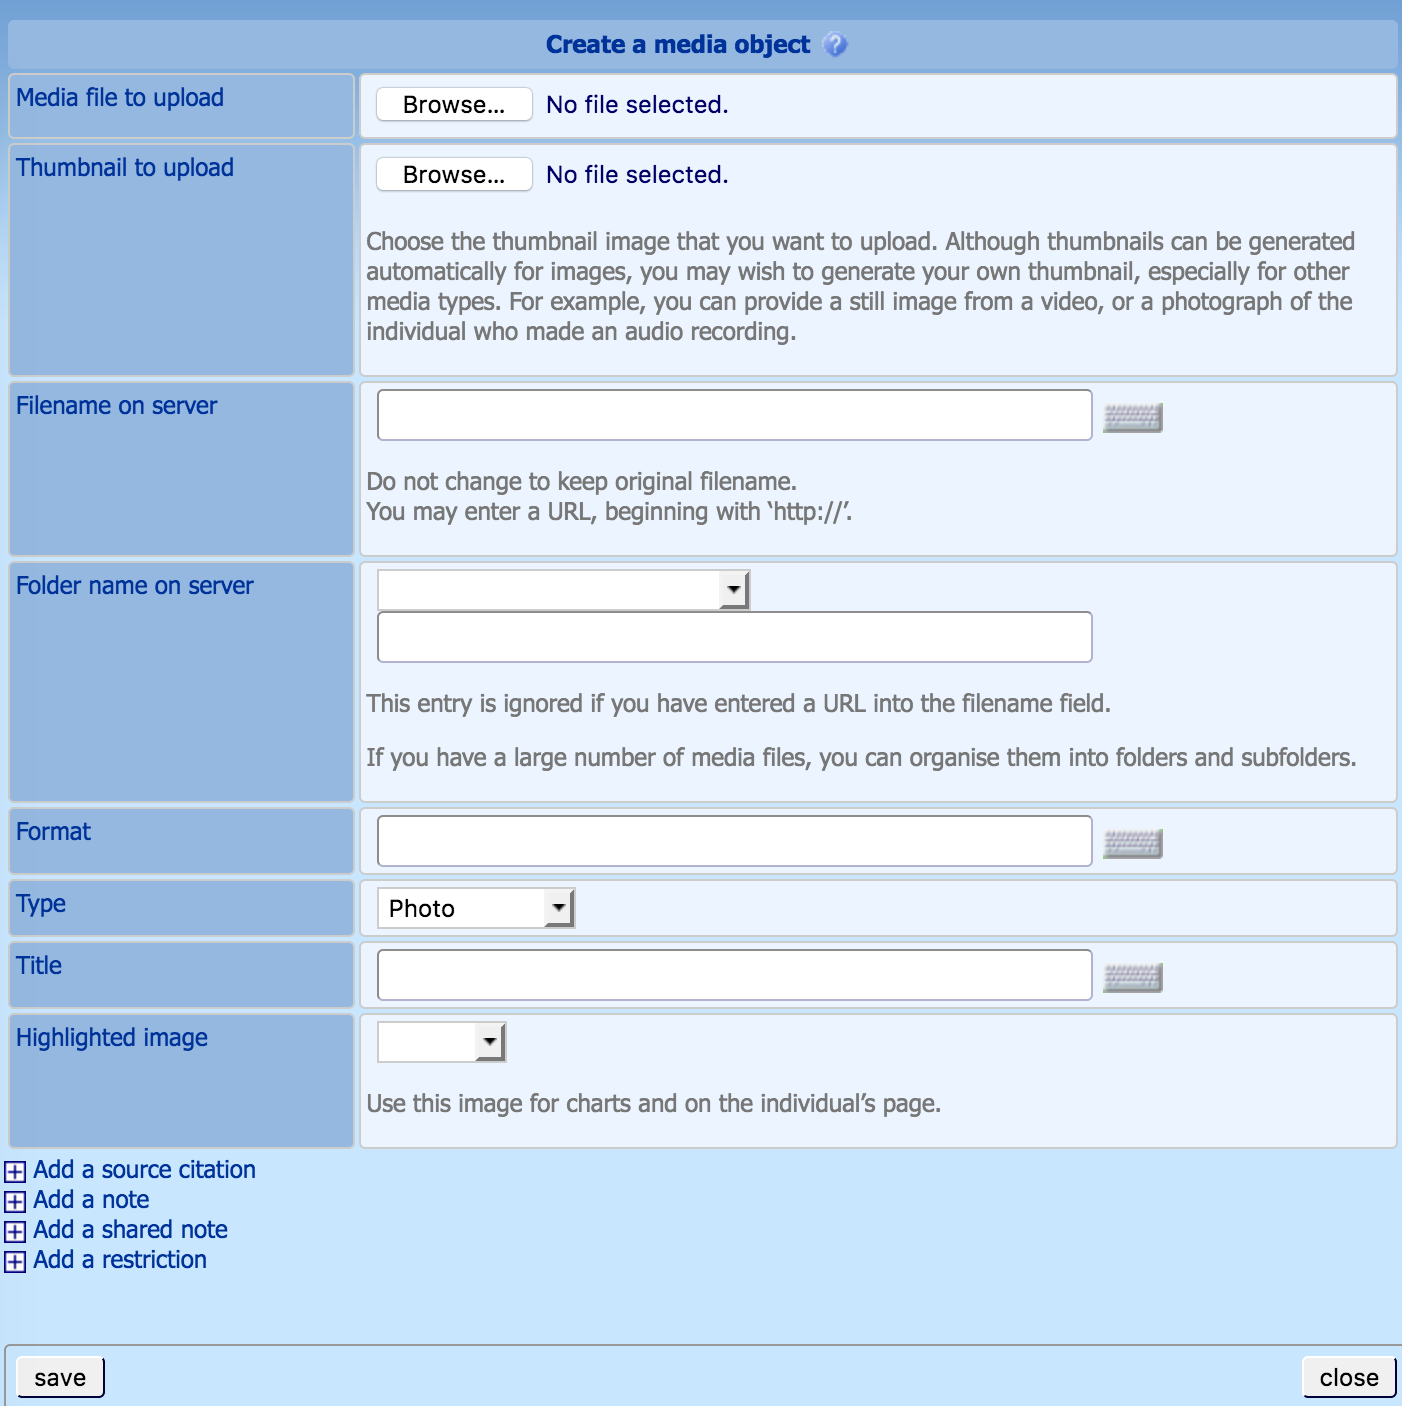
On that tab, you'll , you'll see a link at the bottom of the page to
"Add a Media Object", which will open the window below.
In this windown, you only need to click first of the browse buttons
to select the photo you want and put in a Title in the second last
box. You can mostly ignore the other boxes on this page.
The only other one of interest is the Highlighted Image one, which
lets you select the profile picture for any given person, so you
only need to do this once, it's probably best to use the most recent
photo of the person you're uploading.
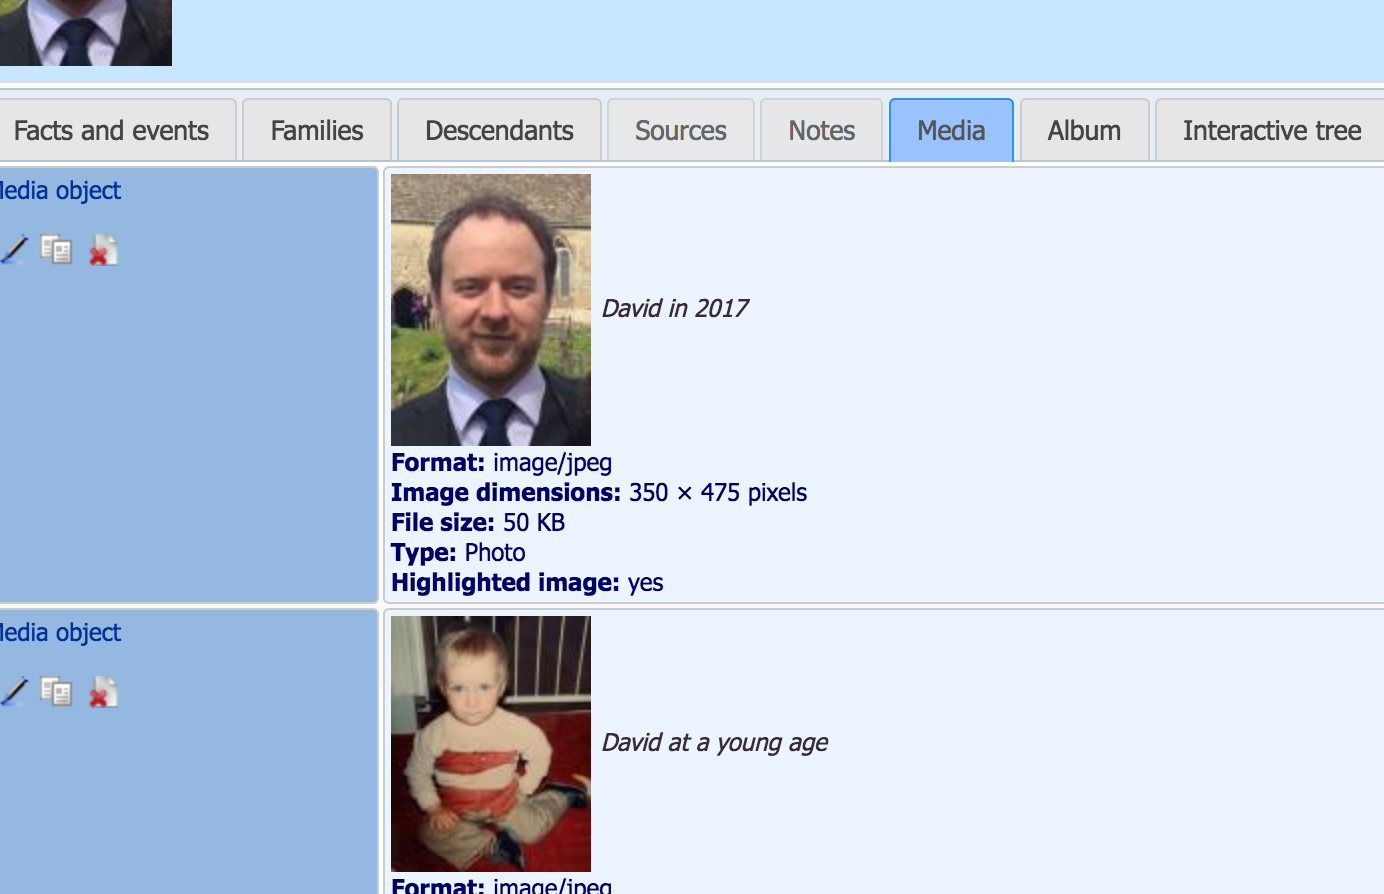
Here you can see what the media tab looks like when you have
multiple photos of one person uploaded.
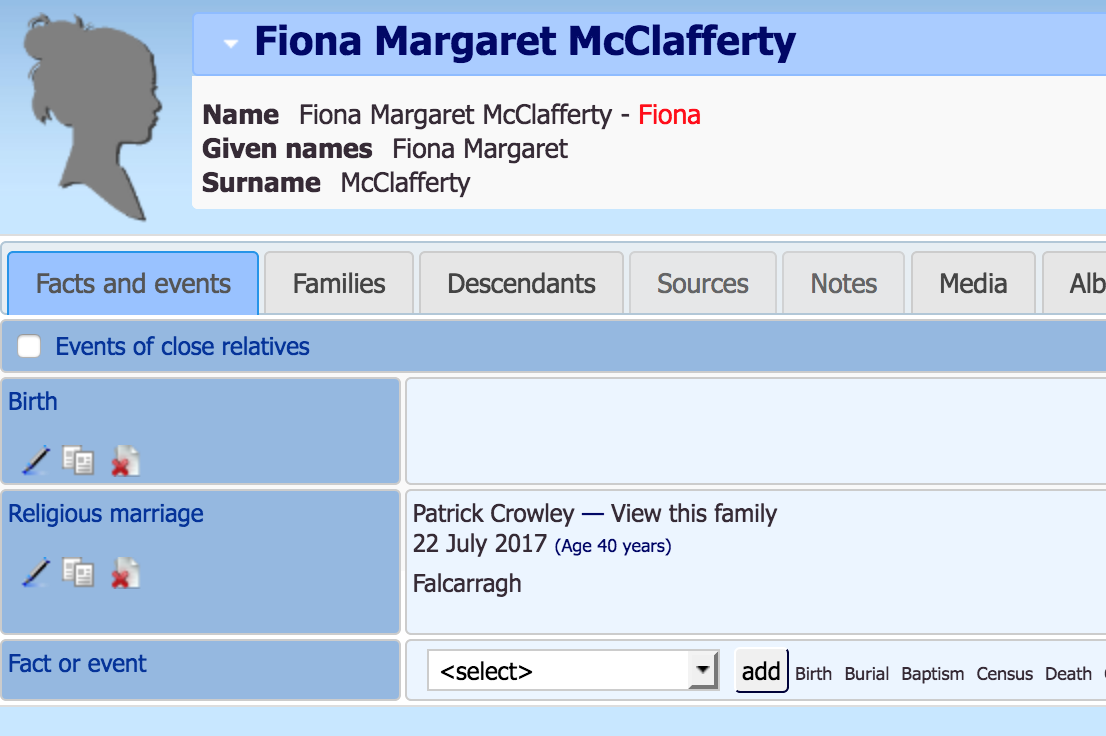
To add a photo to a life event, such as a wedding, you'll want to go
to the Facts and Events tab and Edit the event in question by
clicking the little pen icon on the left, as you can see next to
Fiona's wedding below.
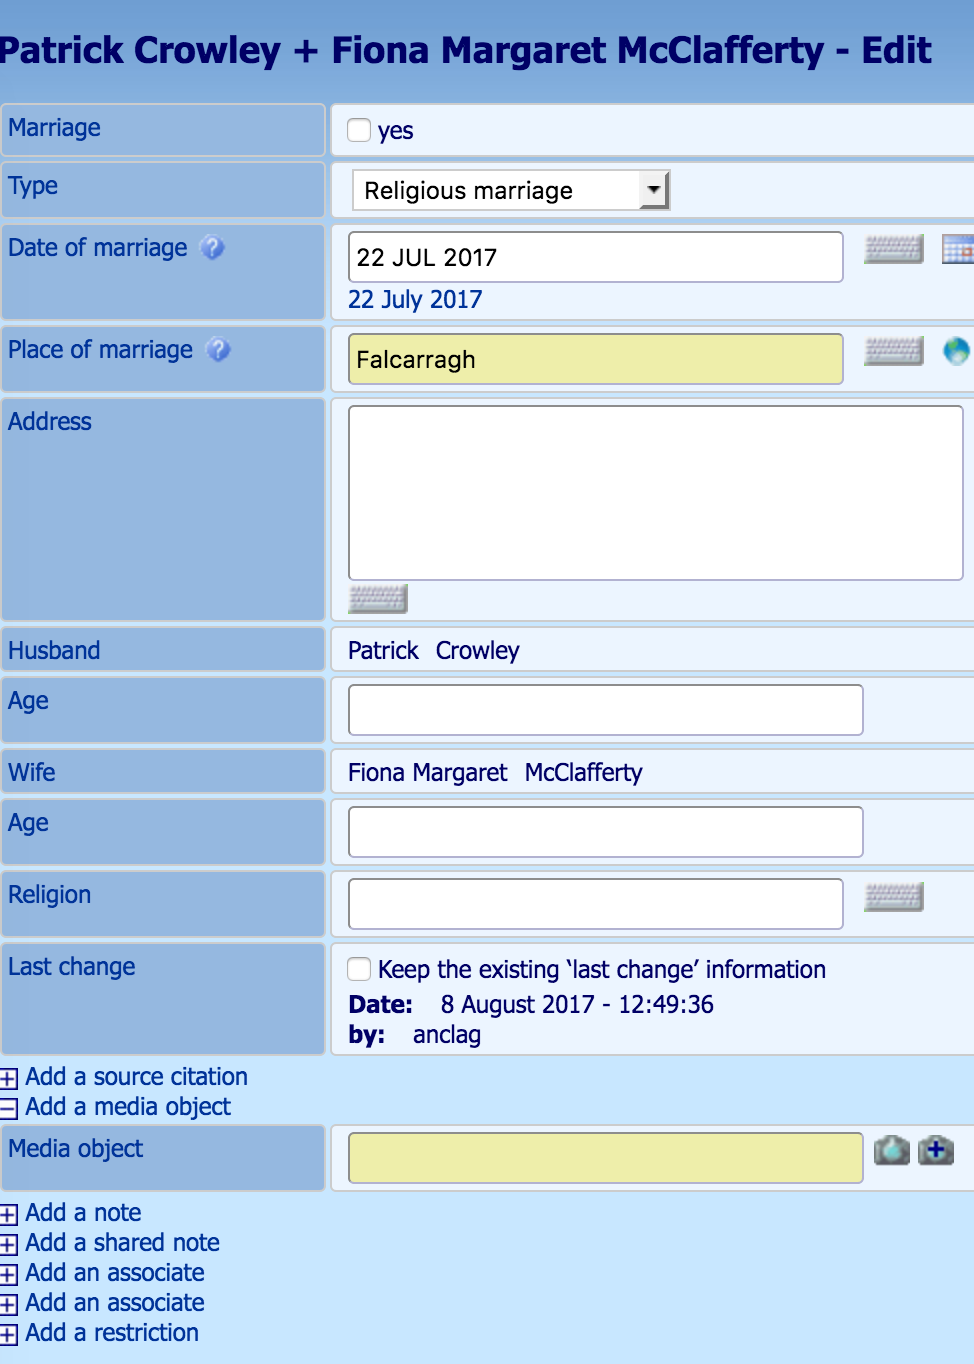
That brings up the following type of screen, which, as you'll see
has the Add a Media Object option at the bottom.
Clicking that gives you something like the screen below, where
you'll then need to type in the name of the person or people it
relates to in the top box, then select the correct option from the
list. In this case, it was easiest to search for Crowley, then
select the option with both their names, since the wedding applies
to both of them.
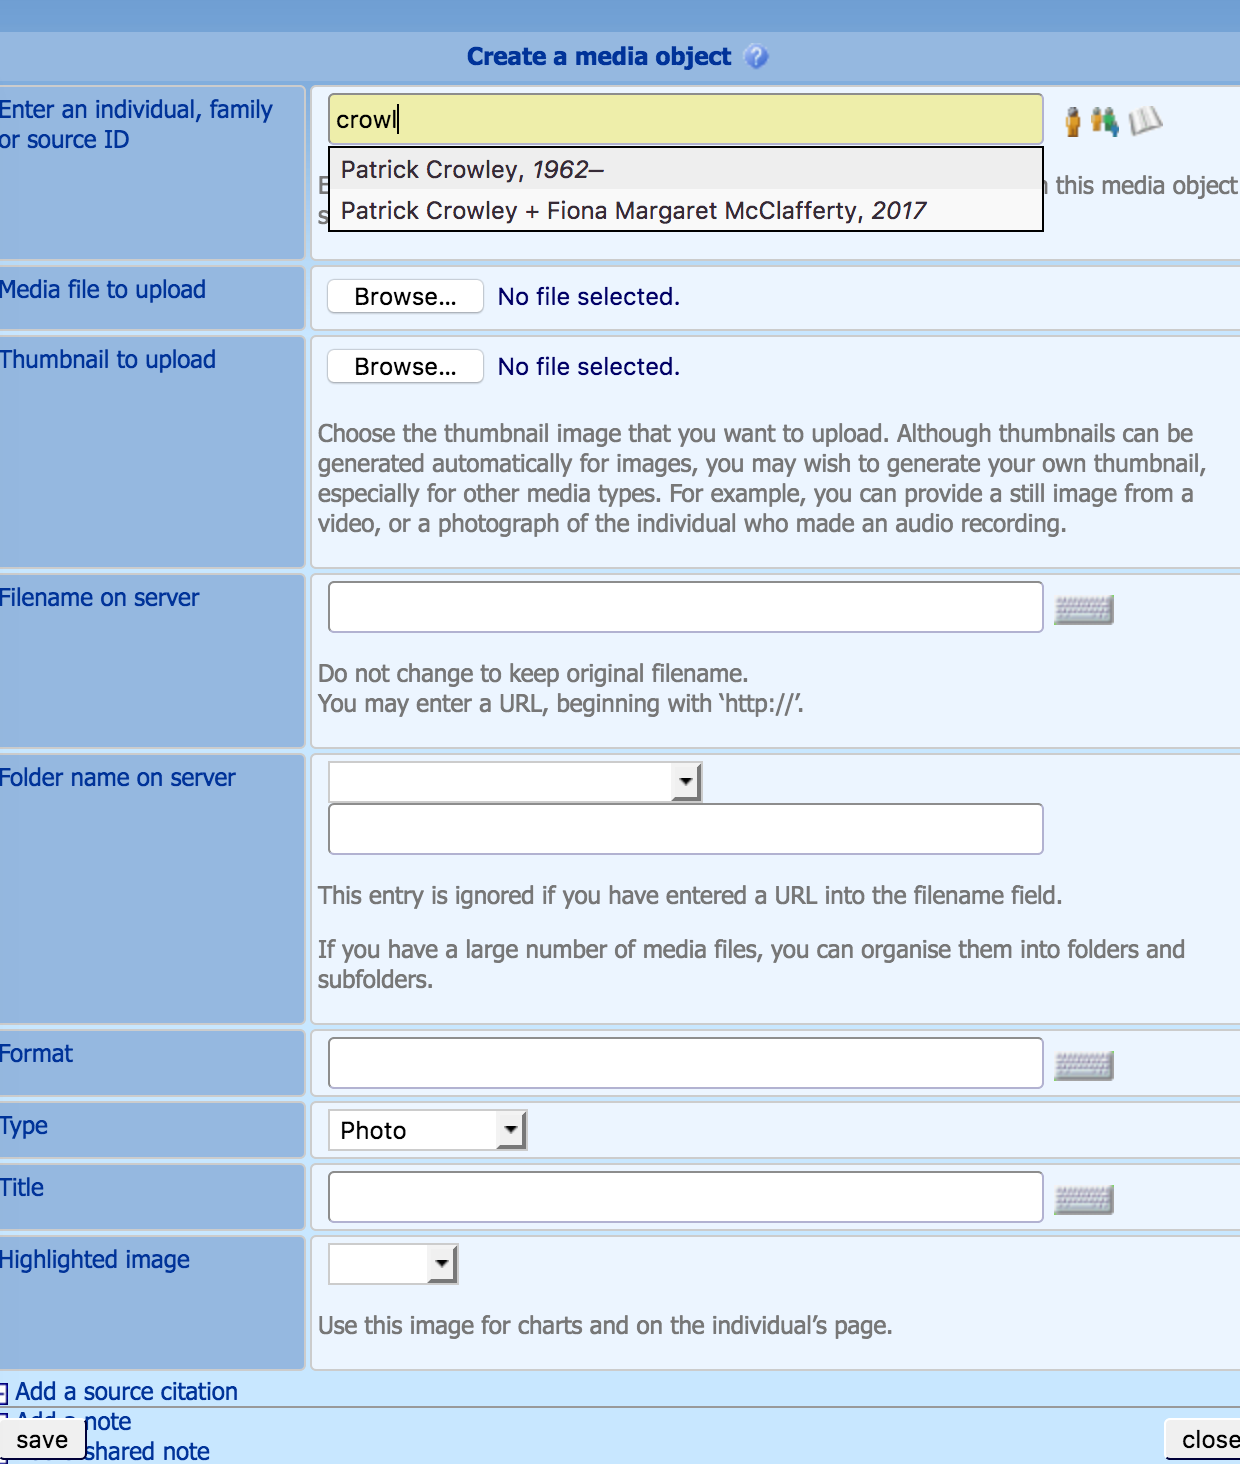
From there, you just upload the file and give it a title like
before!
Again, hopefully that explains it enough to get people started!